
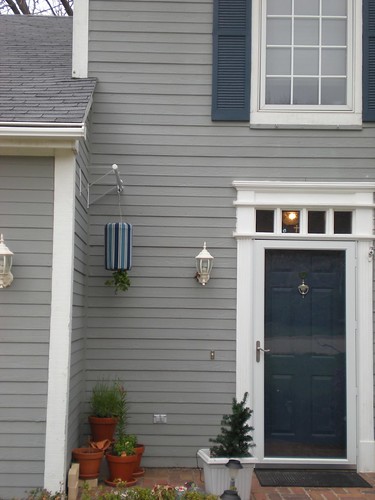
My wonderful Hubby spent yesterday doing some planting. He planted some peppers into our vegetable garden (which hasn't been planted yet this year), potted some herbs and lilies into pots for our front patio, and re-did our strawberry patch yesterday. A few weeks ago he bought one of those Topsy Turvy tomato things and a tomato plant, and it has been hanging in our office window since then. Yesterday he hooked up a hanging rod near our front door- by the new pots- and hung the tomato thing. I'm glad he did it, but it had zero curb appeal!
So today, crafty lady that I am, I grabbed some outdoor fabric and made a cover for it! What do you think?


I think you are totally talented and it looks great. j
ReplyDeleteOh my goodness, perfect timing. They had these at homedepot, and i bought one. And was strugling with the same problem, those suckers are ugly! Do you have a pattern for this? It looks great.
ReplyDeleteThanks, elle!
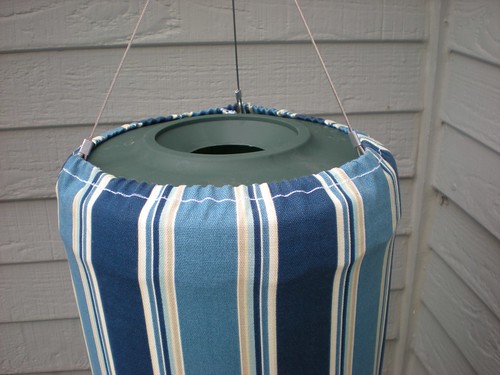
ReplyDeleteI don't have a pattern. I measured and guessed... I think I cut a piece that was 20" x 30".
I folded the 30" side down .25", then another .5", and hemmed along the very edge of the fold a couple of times- for extra strength. I did that along both lengths of the longer edge- making the piece about 18.5"x30".
Then I folded it in half (inside out) so the folded piece was about 18.5x15. I hemmed along the unsewn edge a couple of times, using a .25" seam allowance. I was careful NOT to sew past my stitches along the other edge.
After all this sewing was done, I threaded 1/4 inch elastic through the tubes I'd created with the folding and hemming in the first step. One end has way more elastic than the other, making a smaller unstretched opening in one end.
I finished sewing the rest of the way up the short side, sewing the elastic into place. And that's it! I'm afraid that these directions don't make a lot of sense, but you're basically just sewing a tube with elastic along the top and bottom ends. I put the end with the larger unstretched opening at the top of the thing, with the smaller around the base where the plant comes out.
I was going to add ties or something to tie it to the planter wires at the top, but mine turned out to be a pretty tight fit (it took some work to get it on!), and I decided that it isn't going anywhere and doesn't need ties.
Let me know if you make a cover, I'd love to see it!
That's really cool. I've never seen one of those and you made yours super cute :)
ReplyDeleteI love the idea. You are very talented. I am also a mom who loves to sew and have been teaching myself how to quilt. I love your blog and look forward to reading more. I think I am gonna try this though. I found the green plastic like material for the planters just awful and think this is a great idea. THANKS
ReplyDeleteGreat minds find each other. This is exactly PART of what I was thinking. THEN, I thought: how might this affect the sun getting to it and growing ability? Anyone know/thought about that part.
ReplyDeleteI'll make one in a heartbeat, IF it won't destroy the process
Thanks....from a California sun-worshipper, with zero 'growing' skills!